Wood plastic installation has two steps, which include pre-installation tips and the plastic wood installation process.
Consider the following before starting to install Plast wood :
Due to the structure of Plast wood, this product is able to withstand a weight of approximately 450 kg per square meter.
Consumption of Plast wood material to cover surfaces and decorative matters, necessarily requires metal substructure.
Start the installation operation so that other construction work is completed.
Wood profiles should be stored 48 hours before installation in a dry place away from the sun and indoors at the project site (due to temperature).
The work surface is completely clean and all the necessary tools are available.
It is never possible to screw Plast wood from the face except for some properties (Plast wood due to the existing contraction and expansion has the ability to remove the screws over time or remove the screw mud and only skilled Plast wood installers That can prevent this from happening by adhering to the necessary standards).
When starting the substructure operation, it is necessary to level the substructure in both vertical and horizontal directions.
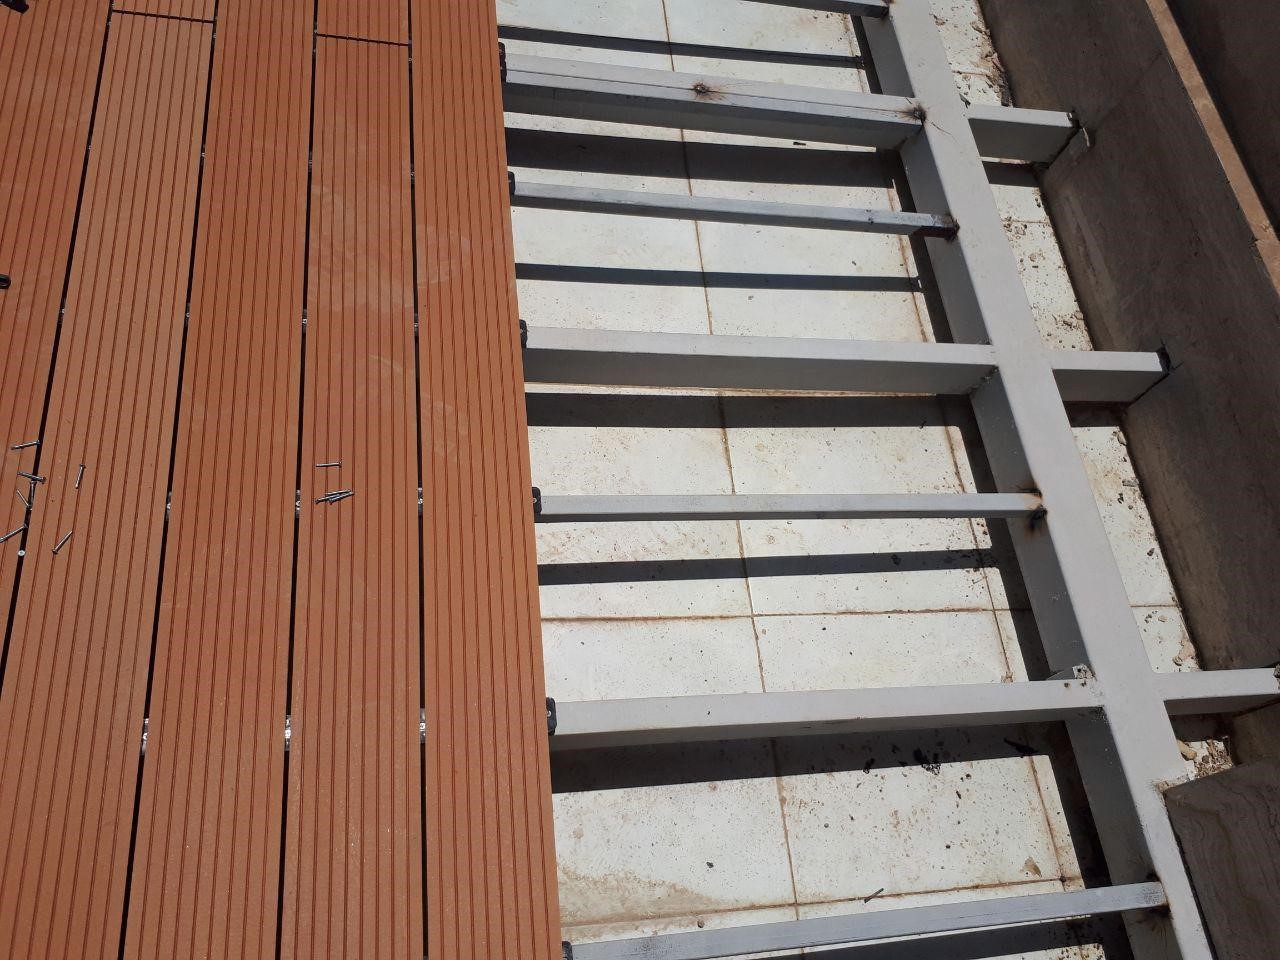
You will definitely need a substructure to install plastic wood. Substructure or chassis is done using metal profiles (40 × 40 iron cans) or special profiles made of Plast wood. Keep in mind that if you use iron profiles for chassis, be sure to cover them with paint (stainless) to make them resistant to rust and corrosion.
Due to the importance of substructure in beautification and the strength of plastic wood flooring, it is necessary to double the substructure cans by installing the profiles longitudinally in the divorce place of 2 profiles, which is usually done for every 150 cm.
When laying the chassis, great attention should be paid to the distance between the profiles, and this distance should be a maximum of 25 cm for floor-to-ax flooring and a maximum of 35 cm for the facade.
To install Plast wood on the metal mesh,
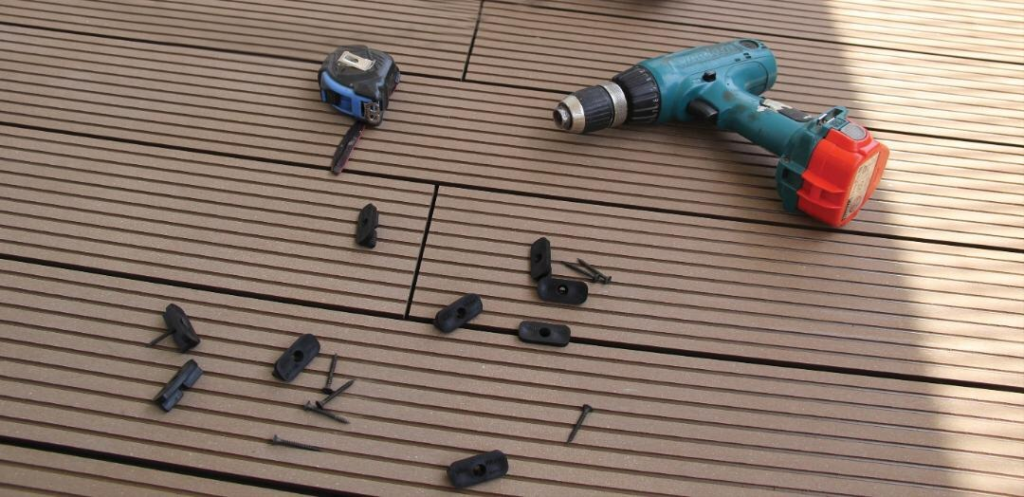
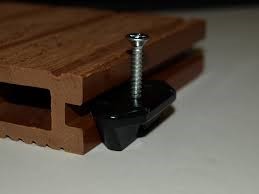
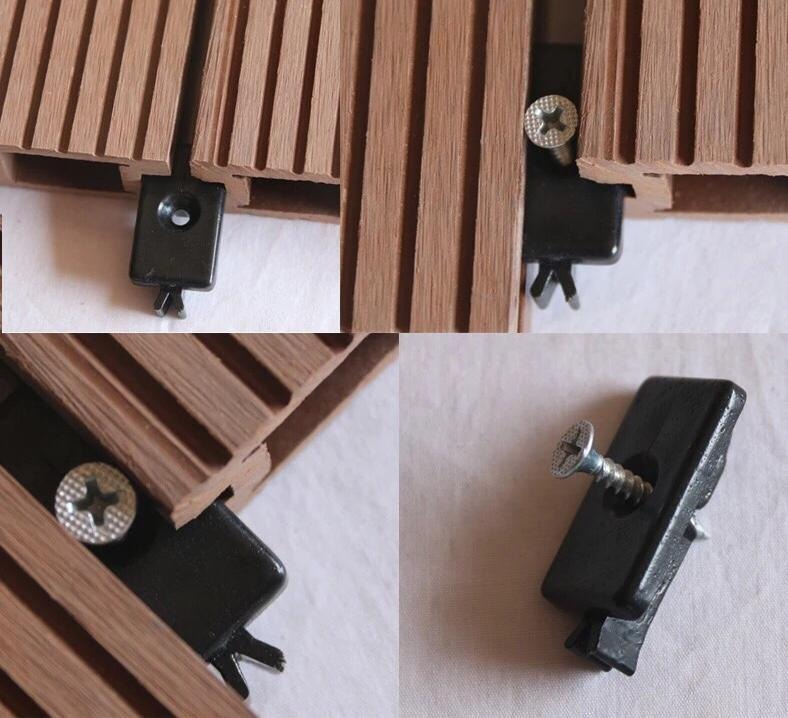
special clamps (clips or T-clamps) are used,
which are used to screw the Plast wood material with screws to the substructure surface.
For any screw installation,
be sure to drill the desired location with a drill and avoid making holes with screws on the work surface.
The longitudinal distance between Plast wood profiles during installation should be 3 mm.
The screws used must be made of galvanized or steel of suitable length.
After completing the substructure steps, the profiles of each area are cut and put in place. These profiles are fastened to the substructure by fasteners called clips. These clips make it easy to move any profile from place to place in the future. Clips are available in two forms, polymer and metal, which fix the profile and adjust the distance between the profiles.
When installing the profiles, it is important to observe the transverse and longitudinal distance between each profile. The maximum transverse distance between each plastic wood profile that is placed next to each other is 6 mm. The maximum longitudinal distance from the apex between each profile is 3 to 6 mm. These distances are to control the longitudinal and transverse expansion of the profiles in different climates.
The slope of the substructure floor should be about one percent (to direct running water)
Metal cans should be installed in the direction of the slope of the bed to drain water.
If it is not possible to drain water between the cans, it is better to use a base under the cans.
The screw used for the substructure should be made of galvanized material.
At the beginning and end of the work, clips are used to adjust the distance and fix.
Plast wood profiles should not have a free beginning and end,
which means that the beginning and end of all profiles must be on the substructure.

Avoid the following mistakes during installation:
Putting shackles inside the cement
Insert constraints without following recommended intervals
Insertion of restraints without observing expansion joints
Place restraints without spacing the wall
Tighten the screws too much
Easy drainage and air circulation should always be ensured.
Plast wood veneer installation:
Before installing the facade, you must make sure that the work surface is level.
For facade substructure, it is better to use 30 × 30 mm metal cans and to prevent corrosion of metal cans,
it is necessary to use stainless steel.
In case the facade is completely made of Plast wood material,
metal substructure is done on the facade with all the mentioned conditions and the Plast wood material is restrained by using a clamp on the metal substructure mesh.
In the case that in Plast wood facade, it is done in combination with any other material, it is better to apply that material first and then Plast wood profiles are applied on the facade so that they are not damaged during execution. At this time, due to the sensitivity and difficulty of using two different materials, the necessary coordination of the employer or his representative with the Plast wood installation group is required.
Longitudinal distances, type of screw,
drilling holes and other items mentioned in the floor section are also valid for facade installation.

Installing Plast wood tile mosaic:
Mosaic tile is a 30 × 30 cm square that is made by assembling three 9.5 cm decks or four 7 cm decks
(depending on the customer’s taste) cut on a plastic outsole.
Plastic soles are male and female and can be paired very easily and quickly,
and you no longer need a metal chassis and a skilled installer to install it.
The point about mosaic tiles is that Plast wood tends to shine because it is a combination of wood powder and polymer, and when installing this problem with metal chassis and creating a distance of half an inch (distance that T Creates) disappears, but in tile mosaics, such as plastic wood, it is only attached to the plastic outsole with screws if it is placed in an environment such as around a pool that is constantly exposed to water; Water remains between the grooves of the plastic outsole, and if it freezes, it puts pressure on the plastic wood profiles and sprays the product properly.
The best suggestion for using mosaic tiles is exhibition booths, which are installed in the fastest possible time and without the cost of this product, and after finishing the work, it is assembled and can be used again in another place. Also, in small terraces that have a roof and their floors are not exposed to direct sunlight, to prevent dirty work (welding, cutting branches of plastic wood and scattering of wood chips in the environment, etc.), mosaic tile can be used as the best Used the option for flooring.
